Creating a Barbie Doll Sewing Pattern
Thursday 15th January 2026
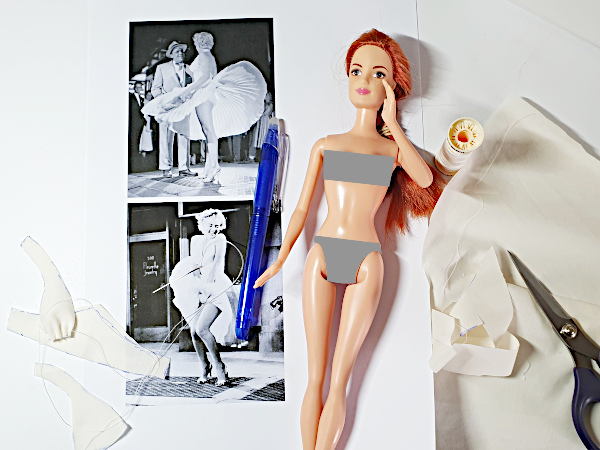
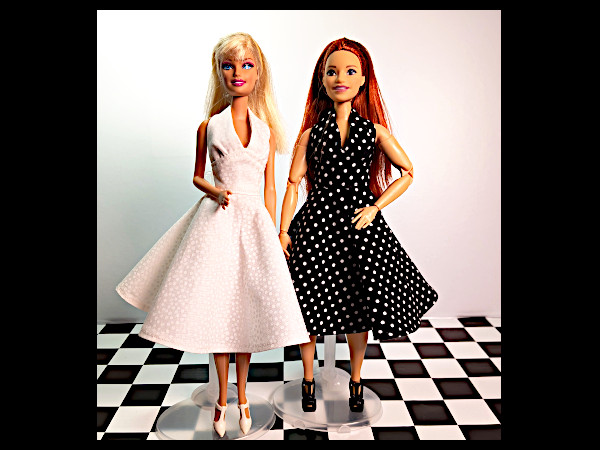
I was inspired to make Barbie a Hollywood Starlet Dress by the famous image of Marilyn Monroe in the white dress from the film The Seven Year Itch.
My first step was to cut approximate shapes for the bodice out of scrap fabric and to roughly sew them together.
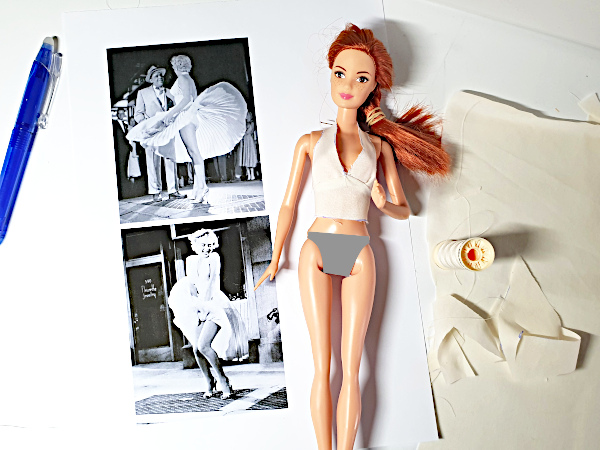
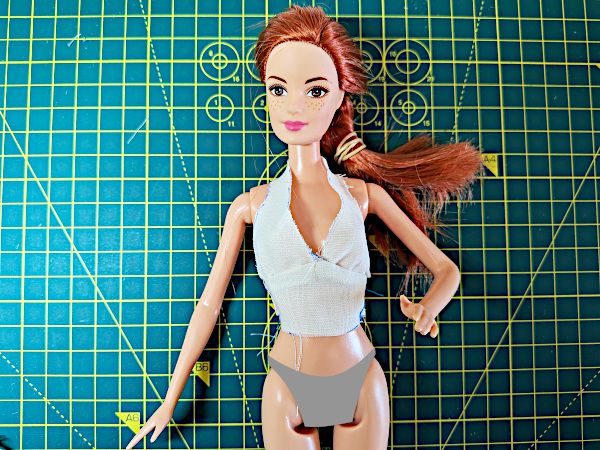
I pinned them on the doll and was quite pleased with the result from the front.

However, the back view showed that the back of the bodice didn’t overlap correctly.
This suggested I need to change the shape of the lower part of the bodice.
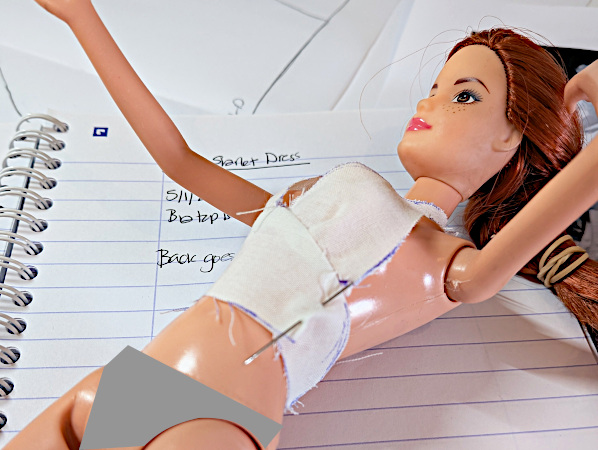
To correct this, I made a small dart in the lower part of the bodice and secured it with a pin.
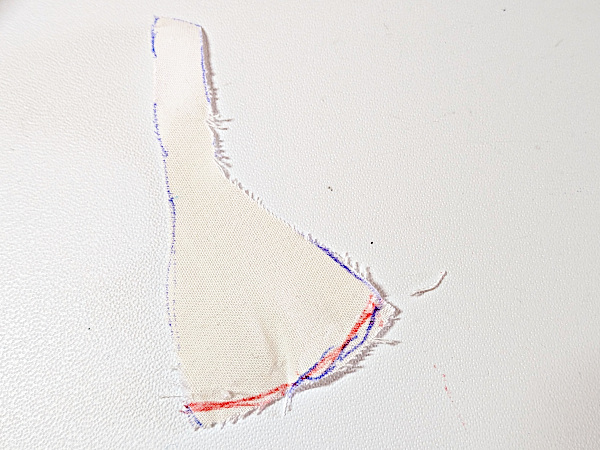
Also, the bodice gaped a little at the front and back so I unpicked the top part of the bodice and redrew the bottom edge in red, making the sides shorter. I hoped this would to pull the edges closer to the body.
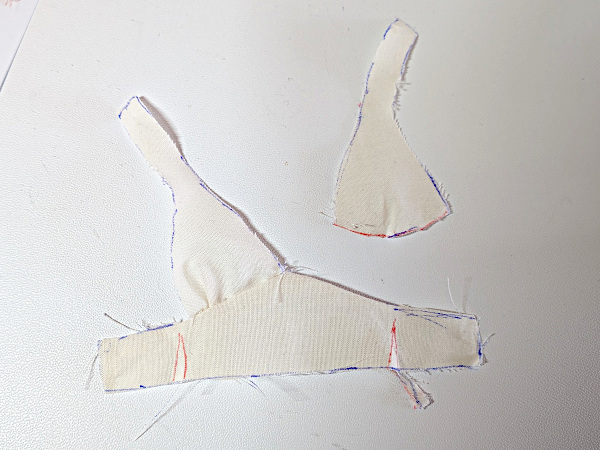
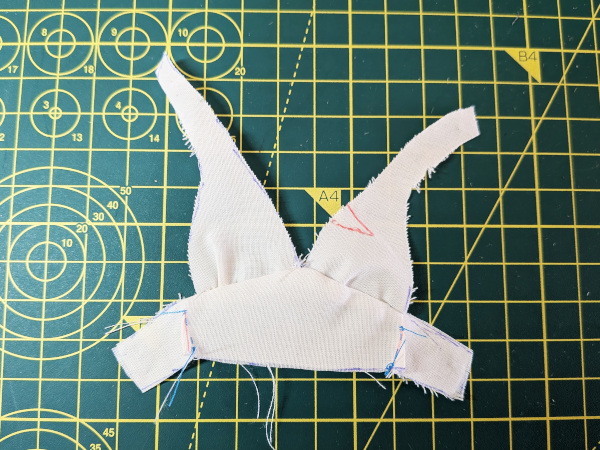
On the lower part of the bodice I drew on the darts with a red pen, so I could see where extra fabric had to be removed to shape the bodice correctly. In addition, I cut the upper part of the bodice to its new shape.
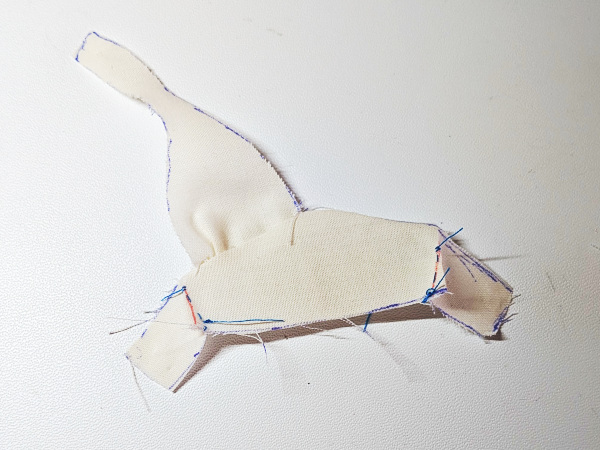
I needed to try this adjusted bodice on the doll, so I hand sewed the darts.
I reassembled the bodice and tried it on the doll. The fit was a lot better.
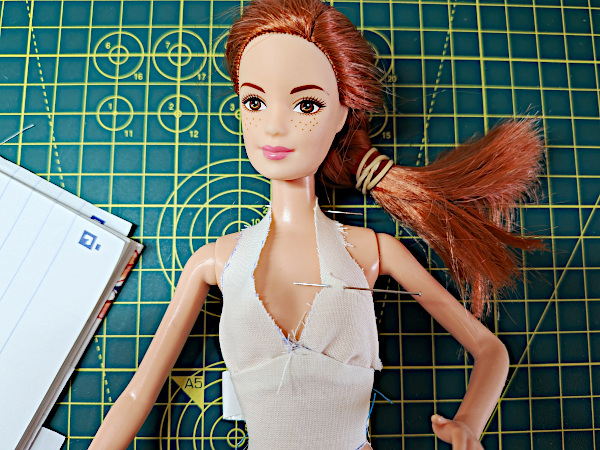
However, the front still gaped more than I wanted. To fix this I put in another dart held with a pin, on the front edge this time.
I took off the bodice and sewed the dart then I put the bodice back on the doll. It fit a lot better.
The next step was to make the paper pattern.
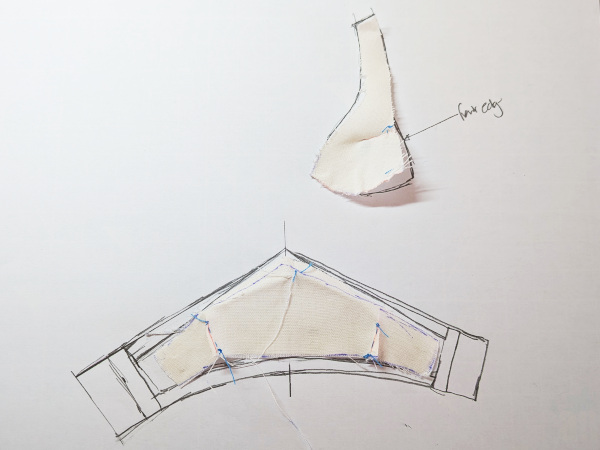
I unpicked the bodice and used the shaped and darted pieces to make the first paper pattern. I achieved this by placing them on a plain piece of paper and drawing around them.
I made sure all the pieces had 6mm seam allowance and that the lower bodice had a 1cm overlap at the back to allow the dress to be fastened.
To make sure the lower bodice was symmetrical I checked it by folding it in half and making any minor adjustments.
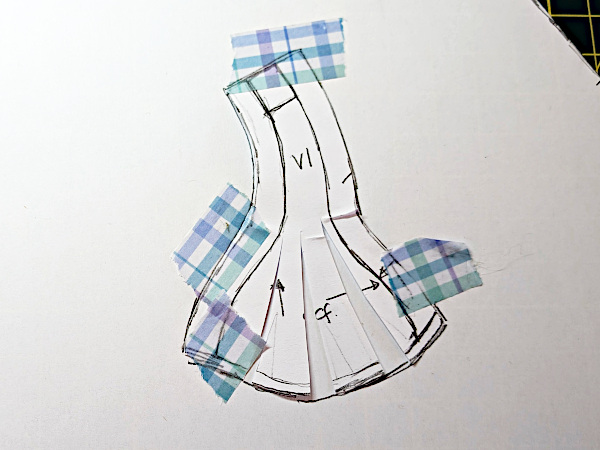
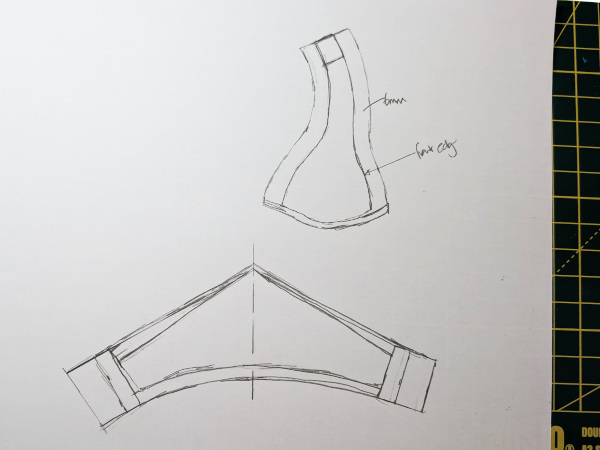
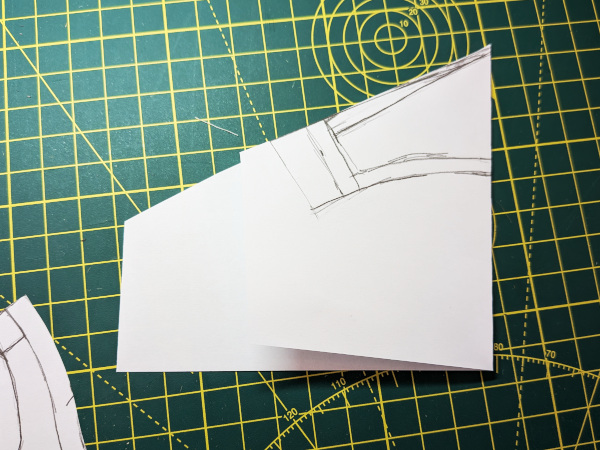
I decided the top bodice needed to be fuller to truly reflect the Marilyn Monroe dress. To achieve this I made cuts along the bottom edge of the top bodice pattern. I then opened up the cuts and held them open with tape. I drew around this new shape to make a new pattern which was fuller around the bust.
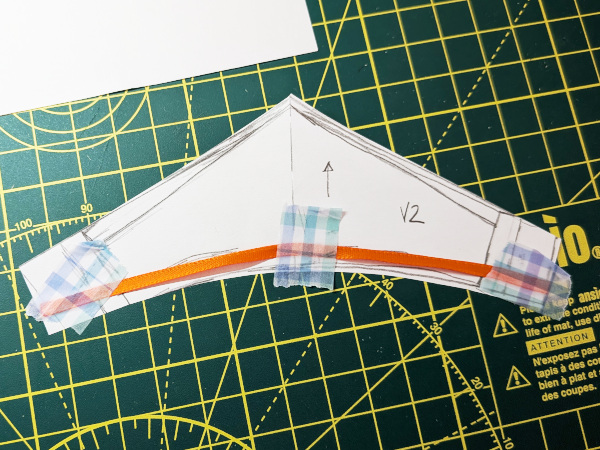
The next step was to make the skirt and for that I needed to know the length of the lower half of the bodice where it joined the skirt. However, this was tricky because the edge of the bodice wasn't a straight line but a curve.
I laid a piece of ribbon along the bottom edge of the paper pattern and used a ruler to measure the length of the ribbon. It was 13cm.
I wanted full skirt, so I started with a circular skirt. This involved some maths to work out the size of the radius that would give me the right waist measurement to fit the bodice.
From the step above I discovered the waist measurement was 13 cm. This needs to be the circumference of the circle at the top of the skirt. I used the formula
Circumference of a circle = 2 x pi x Radius
Pi is 3.142 (to 3 decimal places)
Rearranging the equation gives the value for the radius to be:
Radius = circumference / (2 x pi)
Radius =13 / (2 x 3.142)
Radius = 2.06 cm
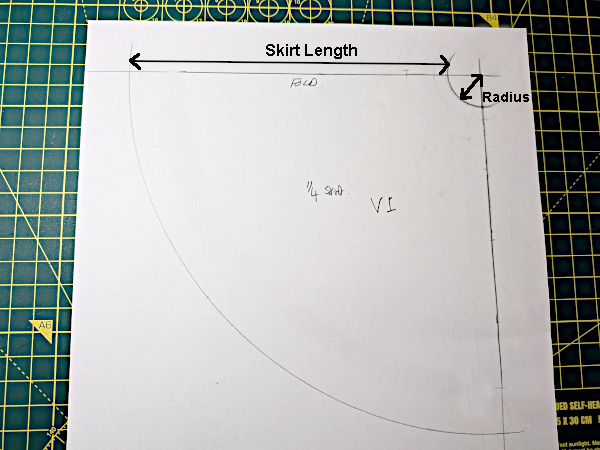
I then used a compass with a distance set to 2.06 cm to draw the small circle at the top of the skirt.
I changed the compass distance to be 2.06 plus the length of the skirt to draw the bottom of the skirt.

The first pattern gave one quarter of the skirt. I copied this quarter twice to give me half of the skirt. Cutting this pattern on the fold gives the whole skirt.
I needed to address the overlap at the back of the address. To deal with this I cut away a 1cm deep section from the bottom of the back section of the dress. This gave me 'lump' which would form the facing to the closure at the back of the dress.

The first version of the completed pattern pieces.
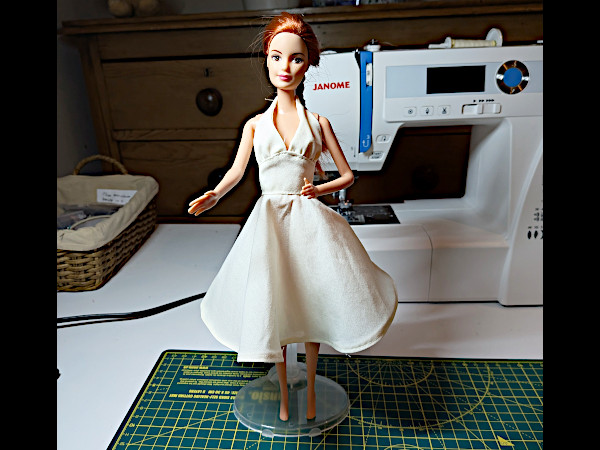
Finally, I made the dress in scrap fabric. In this case an old quilt cover. I'm pretty pleased with it. I think she looks great.
However, there are a few things I want to change. For example, the skirt may be too full and may work better as a three-quarter circle and the lower bodice seems a bit high so I will probably take about 5mm off the bottom edge of the lower bodice pattern piece.
Then I have to work out how to make the pattern to fit Curvy, Tall, Petite and Vintage Barbie. As soon as it's finished I'll post it on Etsy, so that you can have a go at making a 50's Starlet Dress for your Barbie, no matter what size she is.
The pattern is finished and now available on my Etsy Shop. It fits Vintage Barbie and Fashionista Tall, Standard, Curvy and Petite Barbies.
I hope you enjoy making it.